
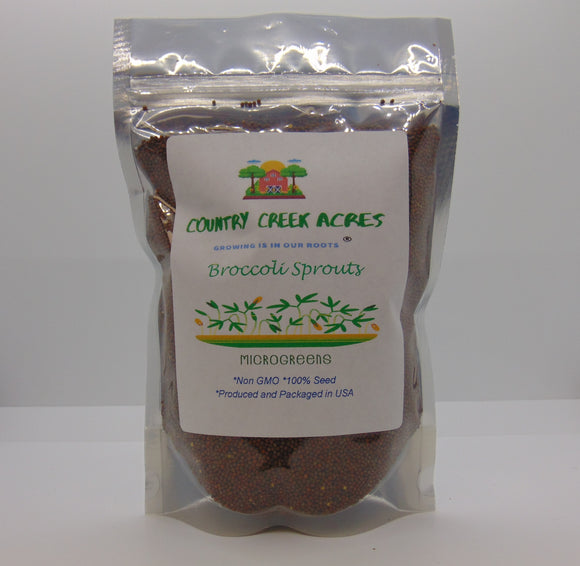


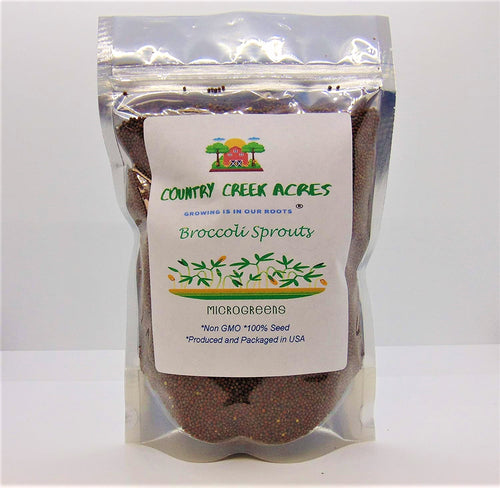
BROCCOLI- Non-GMO Seeds For Sprouting Sprouts Microgreens Country Creek LLC. Brand.
SCROLL DOWN for description, growing instructions, details, and more!
Country Creek LLC
Broccoli Microgreen Seeds
Description, Nutritional Value, How to Serve
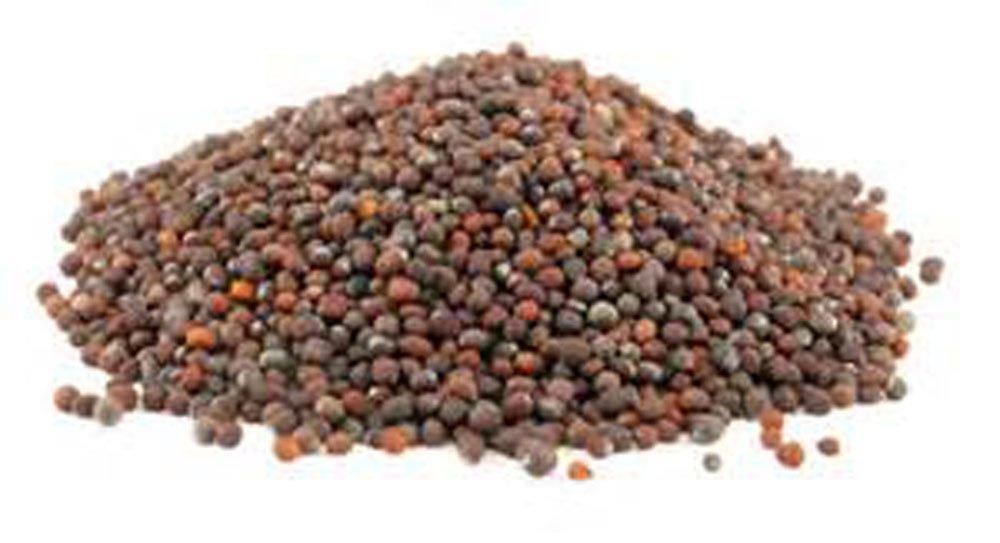
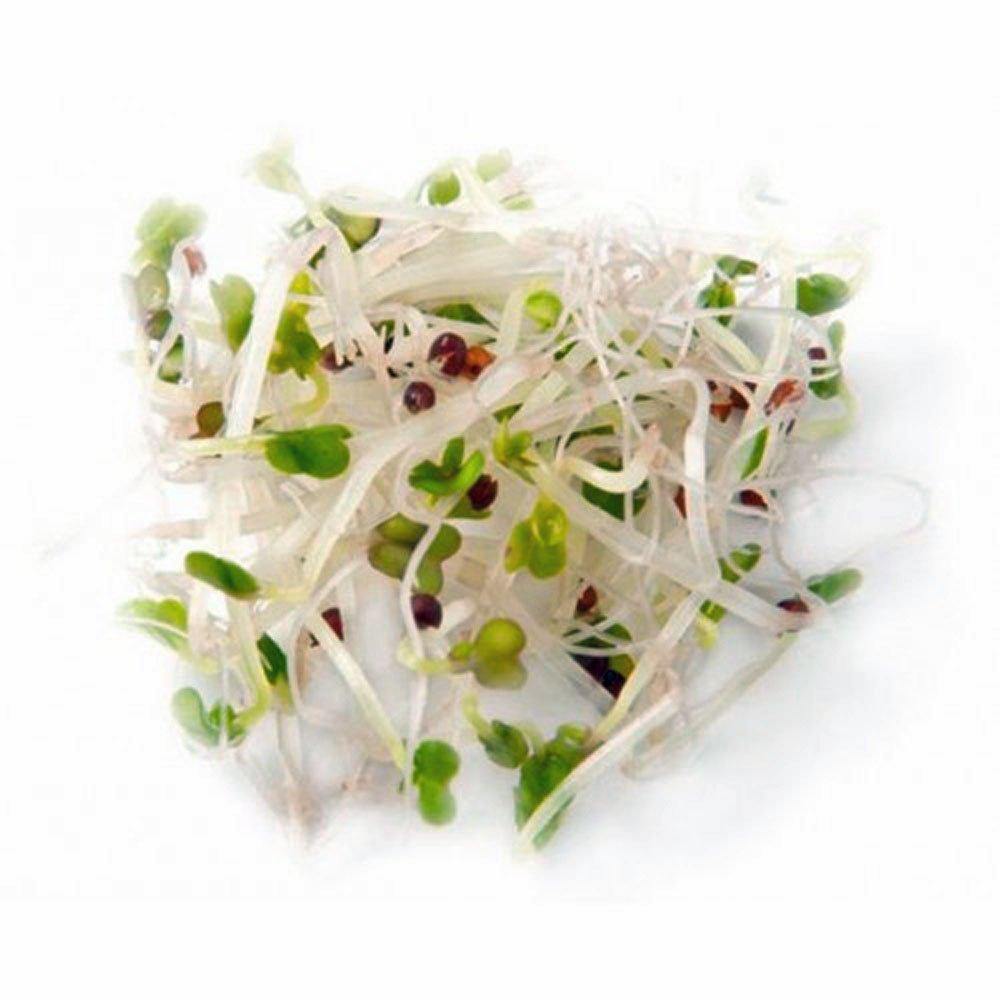
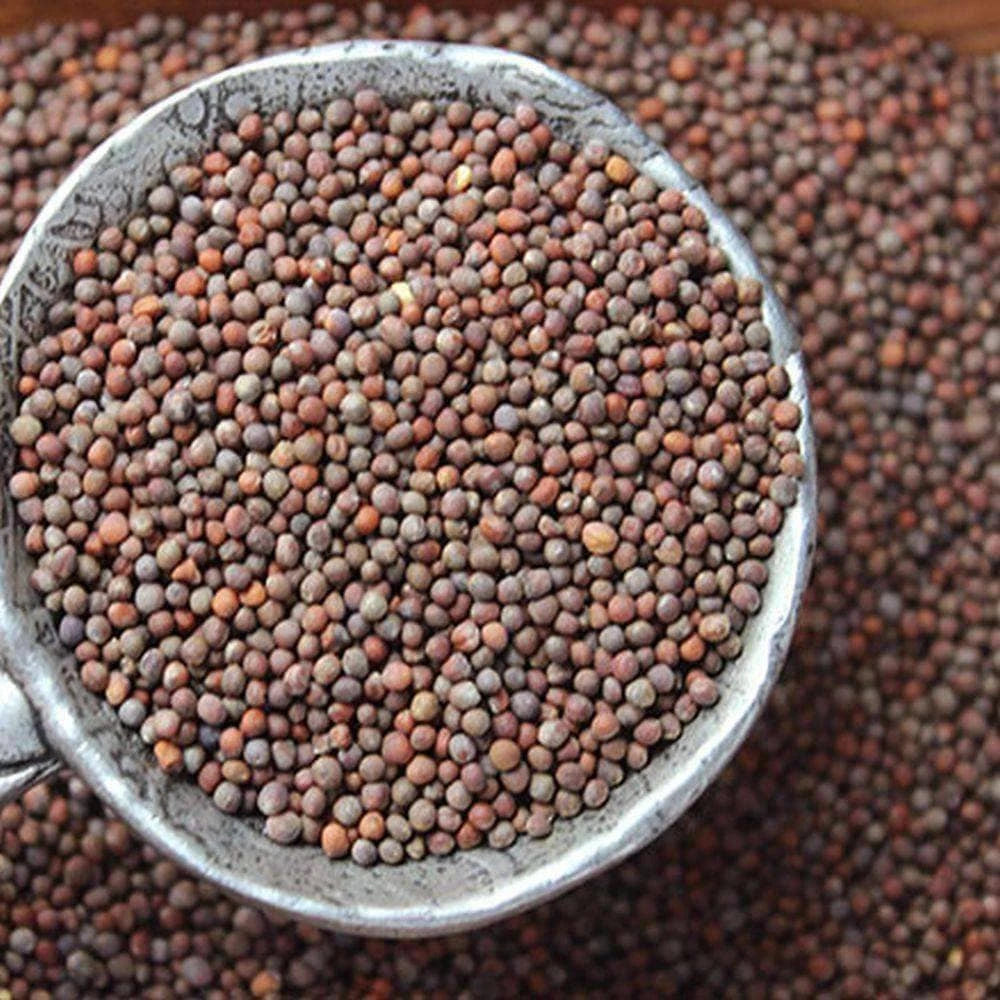
All Seed Lots are tested for Germination. These Non-GMO seeds are grown and packaged in the USA. Many people eat broccoli all the time, but broccoli sprouts are not something you see on every dinner table. These are incredibly nutritious and are an easy addition to many meals. These add an Earthy crunchy flavor to your foods. These young broccoli sprouts are not as bitter and strong as a broccoli stalk. Try them on top of pizzas, soups, curries, omelets, stir fries, pasta, and your other favorite dishes. It’s a good idea for health reasons to wash your microgreens before eating them, just like any vegetable. But microgreens can bruise easily, so they need to be handled with care. You do not need to drown them. Just lightly rinse them in cold water and then gently run them through a salad spinner to dry them off if you’ve got one. These young vegetables are packed with several unique Health Benefits. Research has shown Broccoli could potentially have antioxidant and anticancer compounds. Broccoli contains sulforaphane, a substance which could protect us against the risk of cancer occurring and reduce the severity of cancers that do occur. Broccoli sprouts have a rich supply of vitamin K, its benefits can lower risk of blood clotting, biliary obstruction, and osteoporosis. Most important health benefits of broccoli could also lower signs of premature aging, slow the progression of chronic disease, boost heart health, optimize gastrointestinal function and boost the immune system. - Broccoli is also extremely high in Vitamin A. Vitamin A is known to help keep your eyes healthy and stave off glaucoma and other eye degenerative diseases. It could also help to promote healthy skin, break down urinary stones and maintain healthy bones and teeth. There is SO many more Benefits along with easy planting and growing!
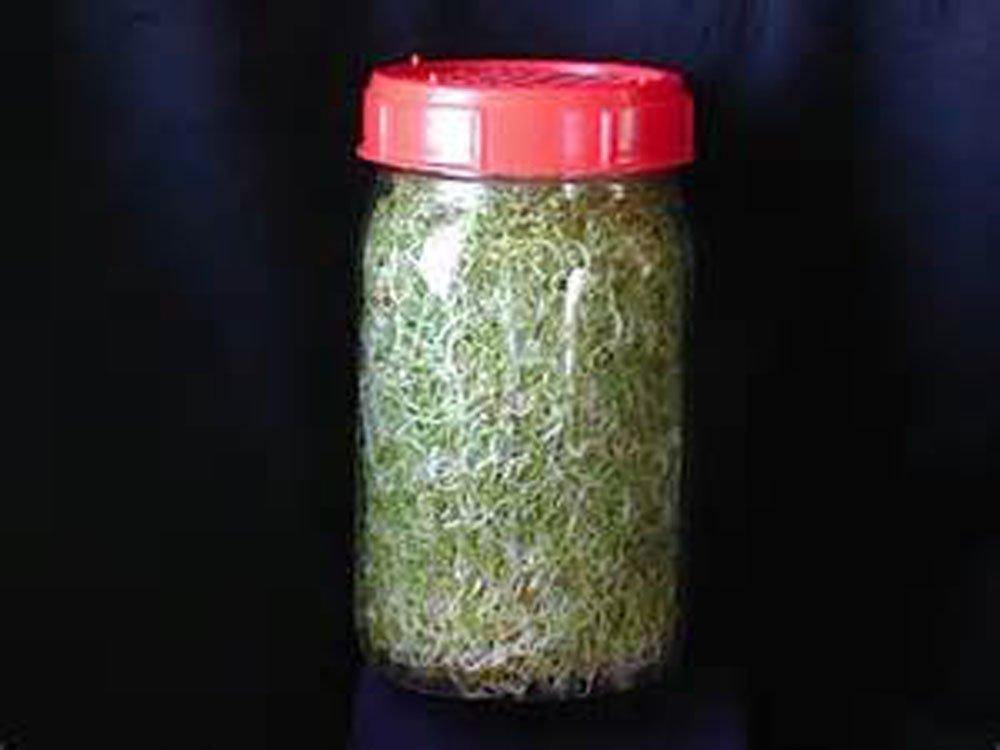
Jar Sprouting Method
There are several ways to sprout seeds in a jar, but this the most effective way that we found. I recommend starting in the evening before you go to bed.
Step 1: Sanitize the seeds by soaking 2 tablespoons of seeds in 1 cup water and 2 tablespoons of apple cider vinegar mixture. – Let them soak for 10 min then drain and rinse with clean water.
Measure 3 tbsp. of seeds to One-Quart jar. – Place sprouting lid/screen on top of the jar. Rinse the seeds twice by filling the jar up with water and “Swooshing” it around and draining it. Then fill up the jar about half-way with water and leave the water in it. Then place it in the refrigerator overnight. (Soaking for about 8-10 hours).
Step 2: When you wake up go and pour out the water that was in the jar. Then, fill up the jar again to rinse the seeds. After rinsing, be sure to really shake the water out of the jar. Shake as much water out as you can. After you do that, try to turn the jar in your hand to allow for the seeds to coat the sides of the jar. Then, set it at an angle in a small Tupper ware container or bowl so that any other excess water can drain into that container. Leave it like that until later in the evening, close to the time you are about to go to bed.
Step 3: At that time, fill the jar up again, swirl it around and rinse it out. Do this once a day for a few days. You will begin to see the sprouting process as growth occurs. Continue to rinse and follow the same step as the last one. The most important thing to be aware of is to be careful to really get rid of excess water, to prevent mold or other issues.

Tray Planting with soil Method
This is one of the easiest and fastest growing Microgreen to plant. – Great for Beginners! (Microgreens like to be kept cool.)
Step 1: Sanitize the seeds by soaking 2 tablespoons of seeds in 1 cup water and 2 tablespoons of apple cider vinegar mixture. – Let them soak for 10 min then drain and rinse with clean water.
Step 2: Add a premium potting mix to the planting tray. The soil should be firmly compacted and level just below the top of the tray. Use a spray bottle to wet the soil surface with un-chlorinated water. Allow the water to soak into the soil, then respray the surface. : (A planting tray needs small holes in the bottom so water can be drawn up from below instead of top watering once the greens have germinated.)
Step 3: (A shaker bottle works best for this step). Spread small amount of seeds over your soil (do not over crowd & spread evenly). Then cover your seeds with a light coating of soil. GENTLY press your soil to your seeds. Use the spray bottle again and wet the seeds. The water will also help settle the seeds into the soil. Place the planting tray inside the watering tray. (A watering tray is one that doesn't have holes and will hold water.) – Cover your seeds with a lid. If your lid is clear use a small towel to cover. (This will keep sunlight off your seeds. – Let sit for 2 days. Just let the seeds germinate and grow. The cover will retain enough moisture for the seeds to grow.
Step 4: After waiting 2 days, look at your seeds. If there is a large germination rate you can leave the lid off and allow your seeds to receive light. If your seeds only have just a little germination recover them and let them sit another day (Or two) until they are ready to be uncovered. After you can remove the lid the sprouts need a lot of light! –After all, light is where the plants get their energy to grow. Whether it be sunlight, LED lighting, or a special grow light, give them as much as you can. Don't fret over it, just do the best you can with what you have. Let the broccoli microgreens grow and give them water from the bottom. Here's where the watering tray comes into play. Memorize how the weight of the dry tray feels. (The white fibers are root hairs, not fungus.) Add water to the watering tray, a quarter of an inch works at first. Set the planting tray in the water and allow it to absorb the water from below. Watering from the bottom keeps the leaves and stems dry, eliminating the possibility of damping off disease and stopping soil from splashing up on the plants.
The first time you water you may have to add more water because the majority of the soil in the tray is dry. Afterward, you won't need to add as much water.
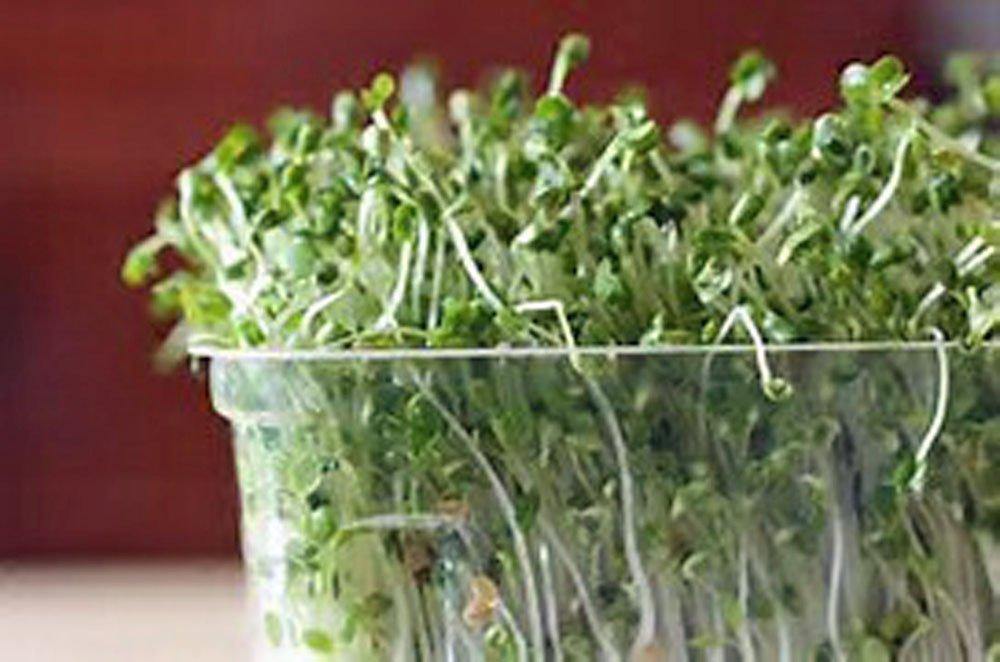
Step 5: After 8- to 10 days the broccoli microgreens will be 2 1/2- to 3-inches tall and are ready to harvest. Only cut what your will be using that day. It’s best to wash your microgreens right before you’re going to use them, not before you store them in the refrigerator. Otherwise they may have excess moisture and deteriorate more quickly. (Use a sharp pair of scissors or a kitchen knife if you’re harvesting microgreens yourself. It can be tempting to just pull them straight out of the soil with your hands, but that can bruise your greens.)

Origin
All Seeds are grown and packaged in the U.S. (Each bag is individually labeled)

Germination
All seed lots are tested for germination.

Sprouting
Works great with any type of sprouter.